It’s really incredible how seeing Marvel Snap played makes such a difference in our understanding of the game’s mechanics. It’s not until you sit down with it that you realize how many little interactions can make such a huge difference in the outcome of games! And since so many of your matches are going to come down to a single power here or there, it’s critical that you know how things are going to play out before you find yourself needing to risk it all on a wild guess.
Table of Contents
The 7 Deadly Rules
Breaking Ties
You won’t come across this in the tutorial, but this is one of the most common scenarios that you’ll see come up. You’ve tied a location, won a location, and lost a location. So what happens? Well, it actually comes down to the total power across all 3 locations. So if you know that a close finish is imminent, make sure you’re making the play that maximizes the total power you’ve got around. If your math skills are a little rusty and you need to figure it out quickly, look at the non-tied locations and see who’s winning by more at those spots.
Watch out for certain locations that can turn the tide in this regard! In games with Mojoworld (169), whoever has the most cards at that location virtually guarantees themselves a win in a tiebreak. At The Bar With No Name (290), it’s counterintuitive, so be careful! If you’ve won that location by having the least power, it actually counts the difference you won by as a POSITIVE value. So winning The Bar With No Name (290) by having ten less power than your opponent actually counts as ten power towards your game total!
Order of Reveals
One of the things that makes Marvel Snap so unique in the CCG space is the simultaneous turns. But suddenly your perfectly lined up Elektra (44) snipe is ruined by the 0-power Rock (249) your opponent dropped, just because their card flipped first! Why did their cards resolve first?
Whichever player is currently winning on the board (based on the rules we went over in the first section) will have their cards revealed first. This actually can be very useful if you’re playing from behind, as a lot of cards benefit from being revealed second. Be sure to keep this in mind when playing cards that are relying on your opponent’s current board state like Elektra (44), Shang-Chi (113), Killmonger (69), or Rogue (107).
If you’re ever in doubt, you can actually look at the profile pictures on the top of the battlefield. Whichever player’s name is highlighted will have initiative for that round!
Order of Reveals Pt. 2
Since you can move things around as much as you like before your turn ends, it can be easy to forget that play order matters, but it does! Cards will reveal in the order they are played from your hand, so (for example) make sure you drop your Wong (144) BEFORE your on reveal abilities, or watch your match slip from your outstretched fingers.
Resolving Effects
The more you play the game, the more you’ll encounter cards with ongoing effects, enough so that it can be easy to lose track of where all that power on your board is coming from! When you drop a new card that changes things on your side of the battlefield, it is important to remember that cards’ effects will resolve in the order they were played. What does this mean? Well, let’s look at a practical example.
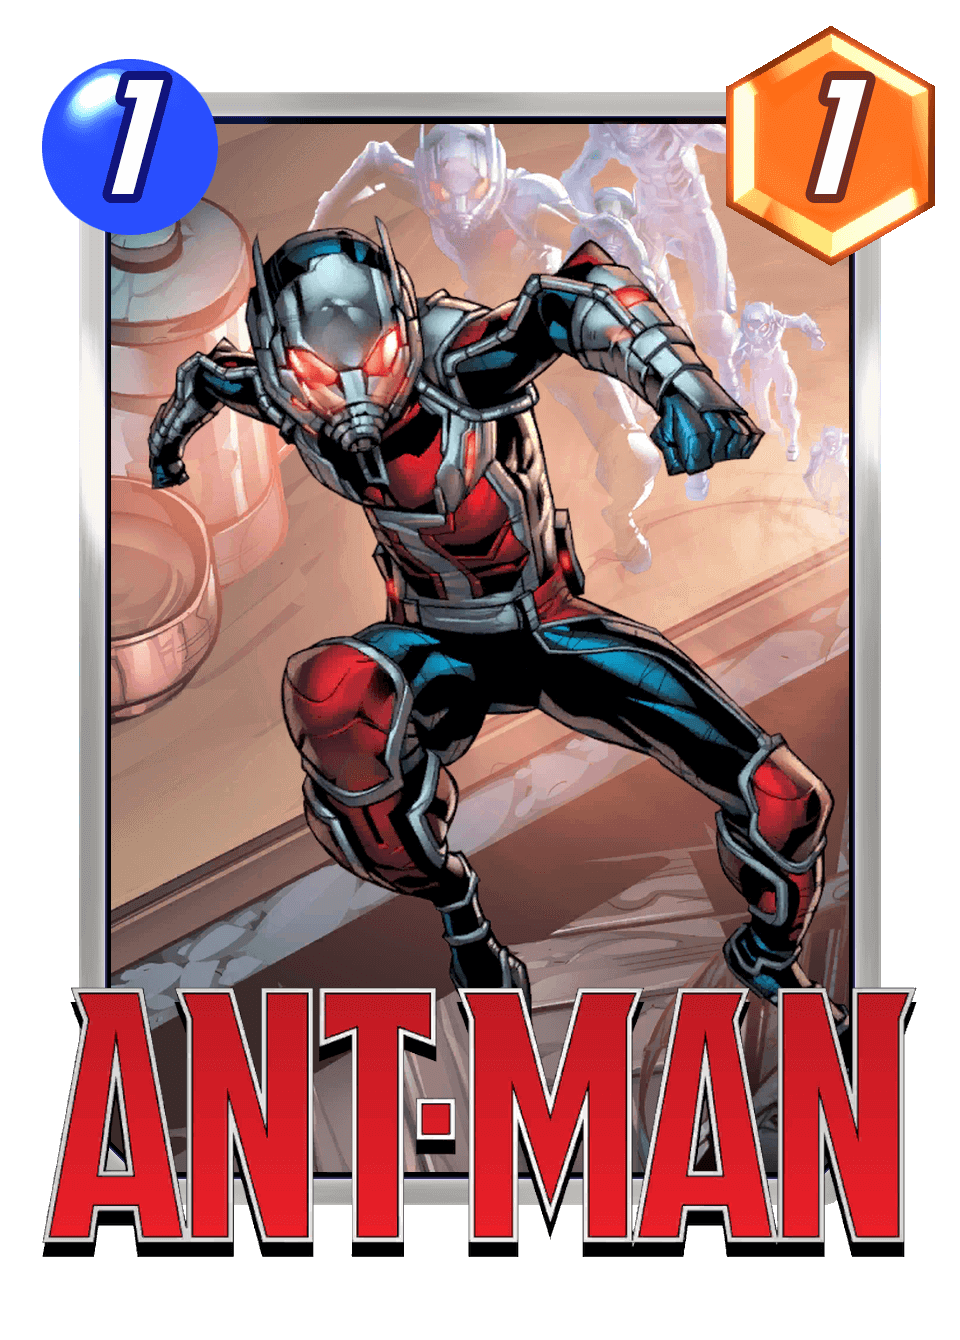
So you’ve played Ant-Man (7) to this zone and you’re looking to absorb that effect into Venom (134). But will it work? When you play Venom (134), the card is considered to have entered the location, and Ant-Man (7)'s effect will trigger, giving him +3 power. Next, Venom (134) will destroy the cards at this location, one at a time, starting with the Rock (249) in the top left. After each card is destroyed, the game will check to see if Ant-Man (7)'s ongoing effect is still valid, which it now isn’t! Now when Ant-Man (7) is destroyed, Venom (134) will receive only 1 power, bringing him up to a total of 2.
But let’s suppose your location was set up this way instead:
Now when Venom (134) starts destroying cards, he will start with Ant-Man (7), who will have the +3 strength bonus from the full location. Playing Venom (134) here will now result in a 5-power Venom (134) when the dust settles.
The same is true with a card like Odin (93), who will trigger the On Reveal effects in the order that they were played to that location.
So keep an eye out for these kinds of interactions! Remember that effects will resolve in this order (ie the order cards were played to that location):
-
Top Left
-
Top Right
-
Bottom Left
-
Bottom Right
Changing Places
There are a number of ways that a location might change. Maybe someone played a Scarlet Witch (109), or Westview came into play, or maybe you just played cards to a location before it was revealed. The important thing to note is that no matter what it changes to, cards at that location will not be automatically moved under ANY CIRCUMSTANCES. This includes even a location like The Space Throne (190) , which could usually only hold a single card. If you’ve got multiple cards there before it becomes The Space Throne (190), then you’re in the clear!
The Art of Cloning
For those of you coming into Marvel Snap from a Hearthstone background, you’re probably quite familiar with summoning a copy of a card you have in play. But what might be counterintuitive here is that “On Reveal” is not exactly the same as Hearthstone’s battlecry.
Take, for instance, Sinister London (183). You might expect its text to just summon a copy of the card and add its stats to that location. But what happens that you might not expect is that these copies of cards will also trigger their On Reveal abilities! Maybe you have two locations you want to target with Elektra (44) (or even Shang-Chi (113) for some massive value!), or maybe you want to get a double buff out of Ironheart (64).
Order of Operations
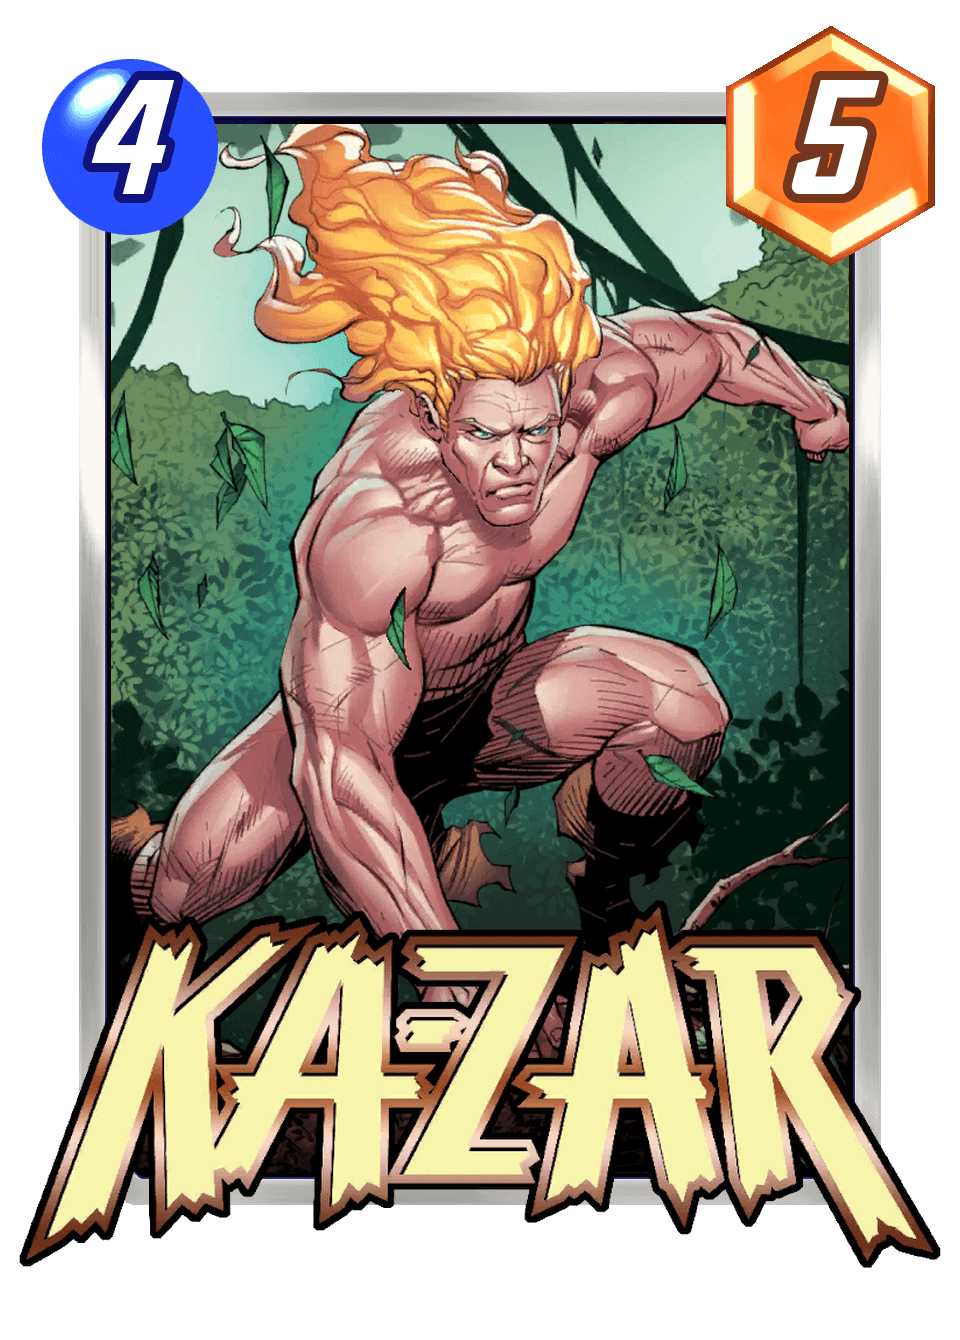
With numerous different effects stacking on top of each other, it can be tricky to keep track of what they all add up to. Throw multipliers into the mix and you can see location power ballooning to absurd levels. One thing that’s important to remember when doing all this mental math is that the addition/subtraction will always happen before the doubling effects. So this mean if a Rock (249) is being given -3 by Negative Zone (173), +1 from Kazar (68), and is being doubled by Iron Man (63), it will end up with (0 - 3 + 1) x 2 = - 4 power!
You’re All Set!
So what do you think? Any other big brain plays that you use to bamboozle your opponents? Leave them in the comments, and we’ll certainly give you credit in the (almost inevitable) part 2! There’s a lot still to be discovered in this game, and the design space is still immense, so don’t be surprised if we see more and more funny little edge cases pop up as the game and player base grow.
About the Author: Offbeat is a Canadian caster / streamer / content creator / everything else under the sun. He has many more hours in Hearthstone that he would like to admit, and streams occasionally on Twitch. He has a YouTube and Twitter page too, if you care about those
